Set internal domains
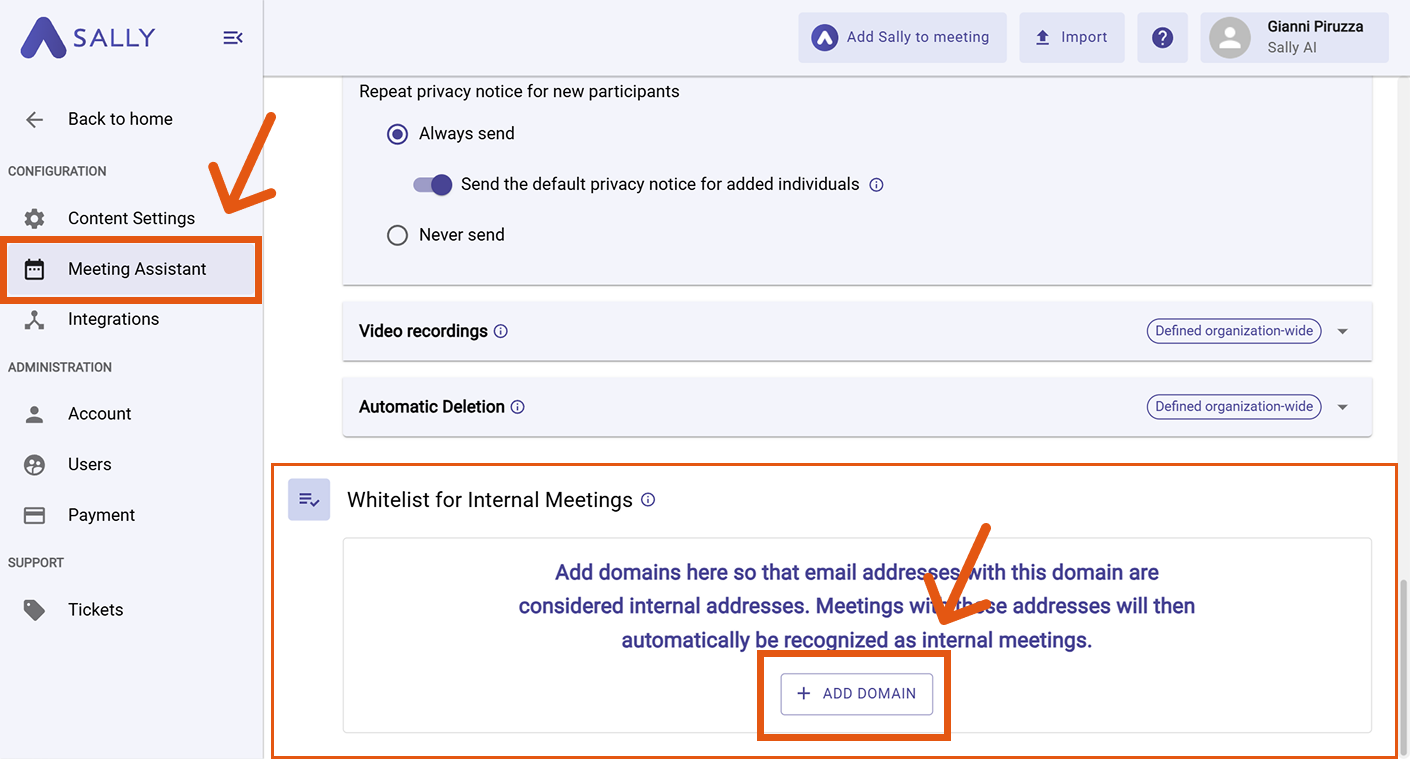
Sally tells internal meetings from external ones by the domains of the participants. A meeting counts as internal when every participant has a domain marked as internal. As soon as one other domain joins, the meeting counts as external.
Several settings build on this, such as Only with external participants for the privacy notice in the meeting and Only for internal meetings for video and audio recordings.
The domains belong to the organization account and apply to everyone in the company.
Only owners and admins can edit them, members cannot.
Quick navigation:
1. Add a domain
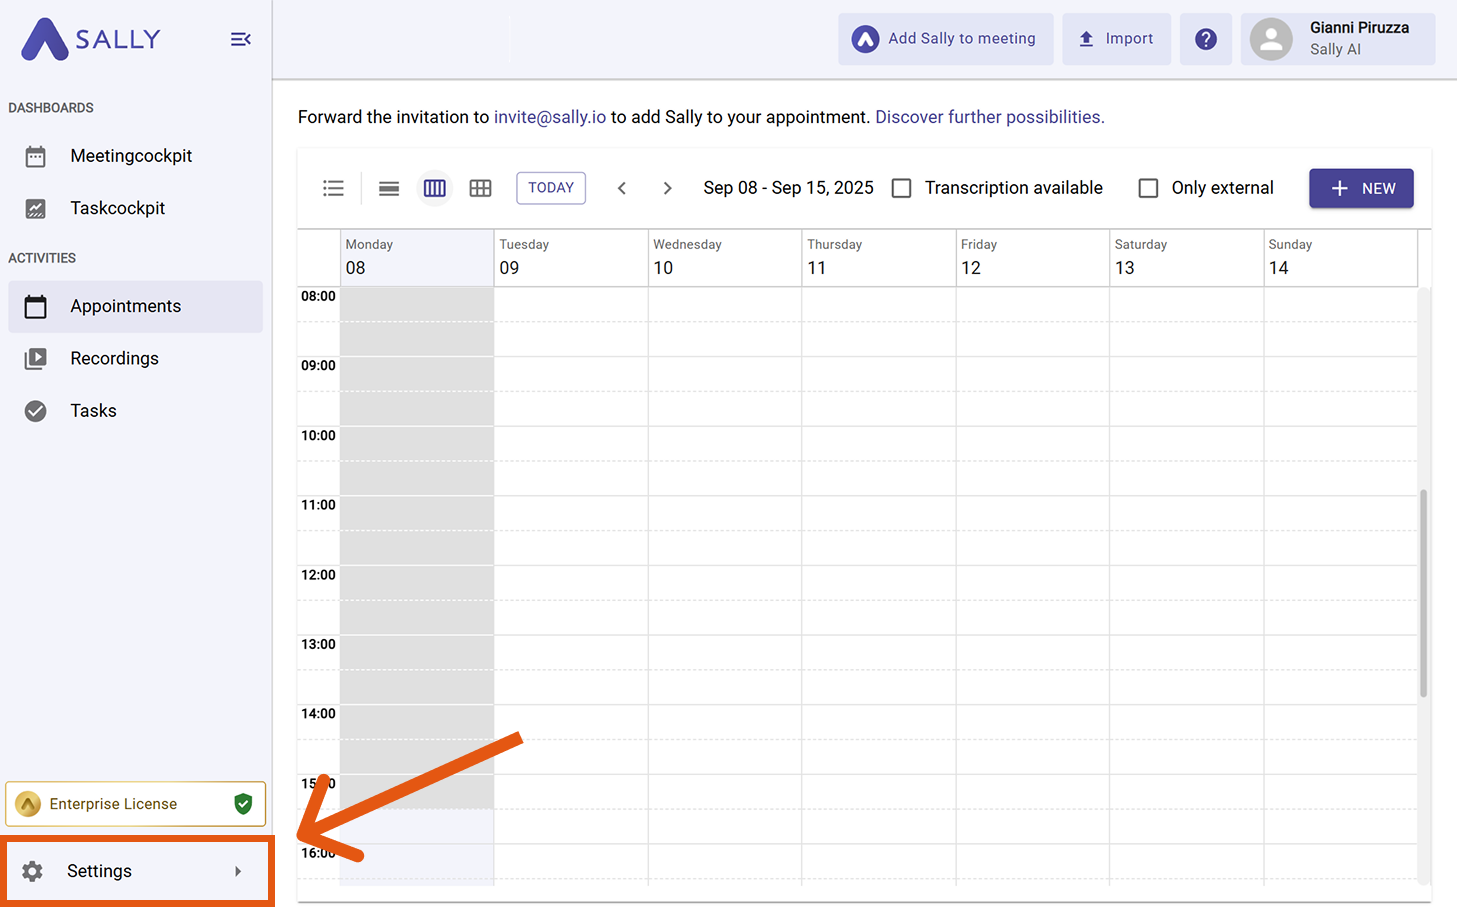
- Open Settings at the bottom of the left sidebar.
- Under Administration, open Account and pick Internal Domains on the left.
- Next to the Internal Domains heading, click + Add domain.
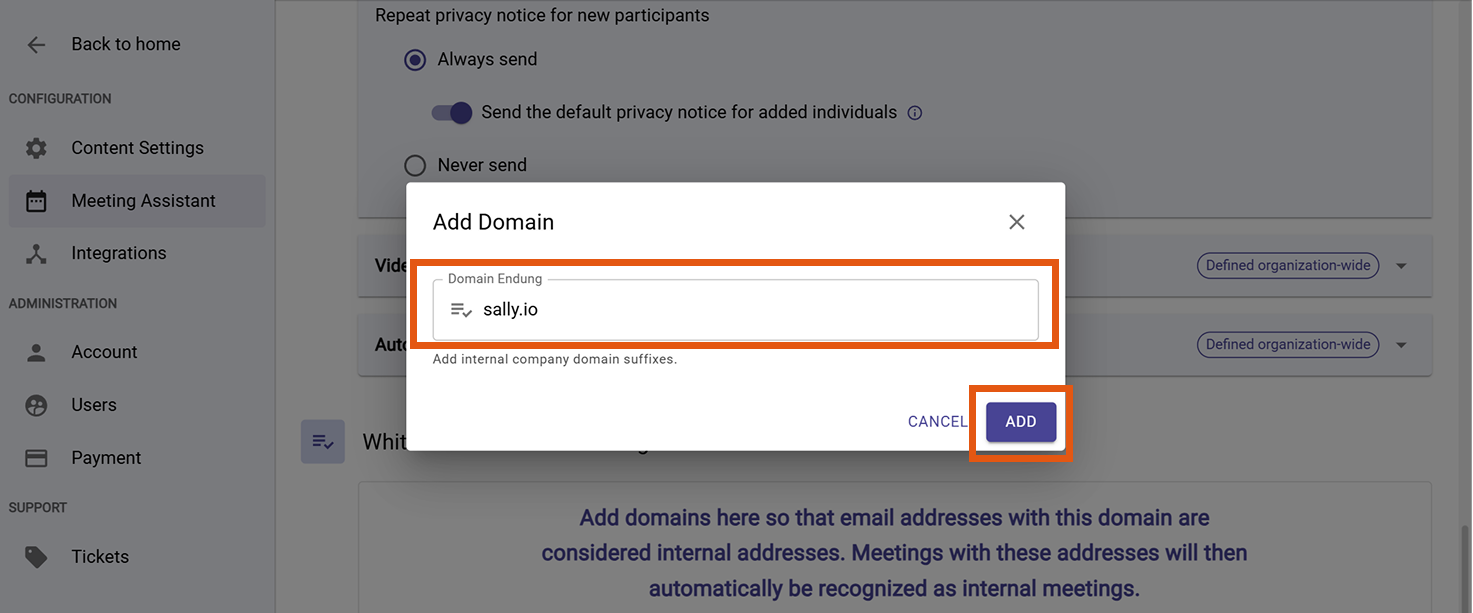
- In the Add new domain dialog, enter your company's main domain, without
https://and without a path, sosally.iofor example. - Click Next.
The domain then appears in the list, marked Not verified at first.
Sally adds the domains of your members as internal on its own. Freemail providers such as gmail or gmx are left out. Every domain in the list can be marked as internal, or have that mark removed again.
2. Mark a domain as internal
- Click the domain in the list.
- The domain's detail panel opens on the right. Turn on Internal domain there. The switch decides whether the domain counts toward classifying a meeting as internal or external.
- Remove deletes the domain from the list again, Close leaves the detail panel.
3. Verify a domain
Verifying proves that your organization actually owns a given email domain. You confirm ownership by adding a single TXT record to your DNS provider that Sally generates for you.
That keeps you in control of which accounts belong to your organization. And only a verified domain can be used for auto-join.
- In the domain's detail panel, click Verify. Sally shows a DNS TXT record with Type, Host, and Value.
- Add the record at your DNS provider. The icons next to the fields copy the host and the value, so no typo creeps in.
Sign in to your DNS provider, Strato, IONOS, GoDaddy, Cloudflare, or Route 53 for example, and create a new TXT record. The fields often go by other names there: what Sally calls Host is the prefix at Strato, and Value becomes the value. Copy both exactly as Sally shows them.
- Give the new record a few minutes to take effect at your provider, then click Verify now. Close leaves the dialog without checking.
When Sally finds the record, the domain's mark changes from Not verified to Verified.
DNS changes sometimes take longer to show up everywhere. If the verification does not work right away, wait a moment and try again.
4. Auto-join for new accounts
Once a domain is verified, you unlock auto-join for it:
- Any new account created with an email on that domain is automatically routed into your existing organization.
- No separate organization is created, no manual invitation needed.
- Your team members get the correct workspace immediately, on the same plan, settings, and license pool.
This is especially useful for larger teams where employees might sign up on their own and would otherwise end up in isolated mini-organizations.
- Click the verified domain in the list.
- In the detail panel, switch Auto-Join on.
On a verified domain, the Auto-Join switch takes the place of the Verify button. Without verifying the domain it does not appear.
Auto-join only applies to new sign-ups. Anyone who already has their own account is not moved. You bring those people in through user management.