How to change a template through a new version
You have a template that works well, but you want to sharpen a prompt or add a section. That is what a new version is for. A published template is the one your meetings are using right now, so Sally keeps it read-only. Every change goes into a draft version first. You can take your time there and rebuild as much as you like, with no effect on the meetings you are running. The summaries written in the meantime still use the published version. Once the draft is right, you publish it, and every new summary follows the new version from that moment on.
This article goes through the whole cycle once: draft, change, save, publish. At the end you also know where to find earlier versions and how to change the name and description of a template.
Quick navigation
- What versions are for
- Creating a draft version
- Saving your changes
- Publishing the draft
- The version history
- Title, description and category
1. What versions are for
Templates run in the background. While you are editing a template, Sally may be summarizing a meeting that just ended. If your half-finished changes went live immediately, that summary would come out wrong.
With a shared template there is more at stake than your own meetings. A template that a whole team or the organization works with must not go live half-finished while your colleagues are having their meetings summarized with it.
Versions prevent exactly that. There is always one published version, and at most one draft you are working on. Nothing you do in the draft reaches a meeting until you publish it.
2. Creating a draft version
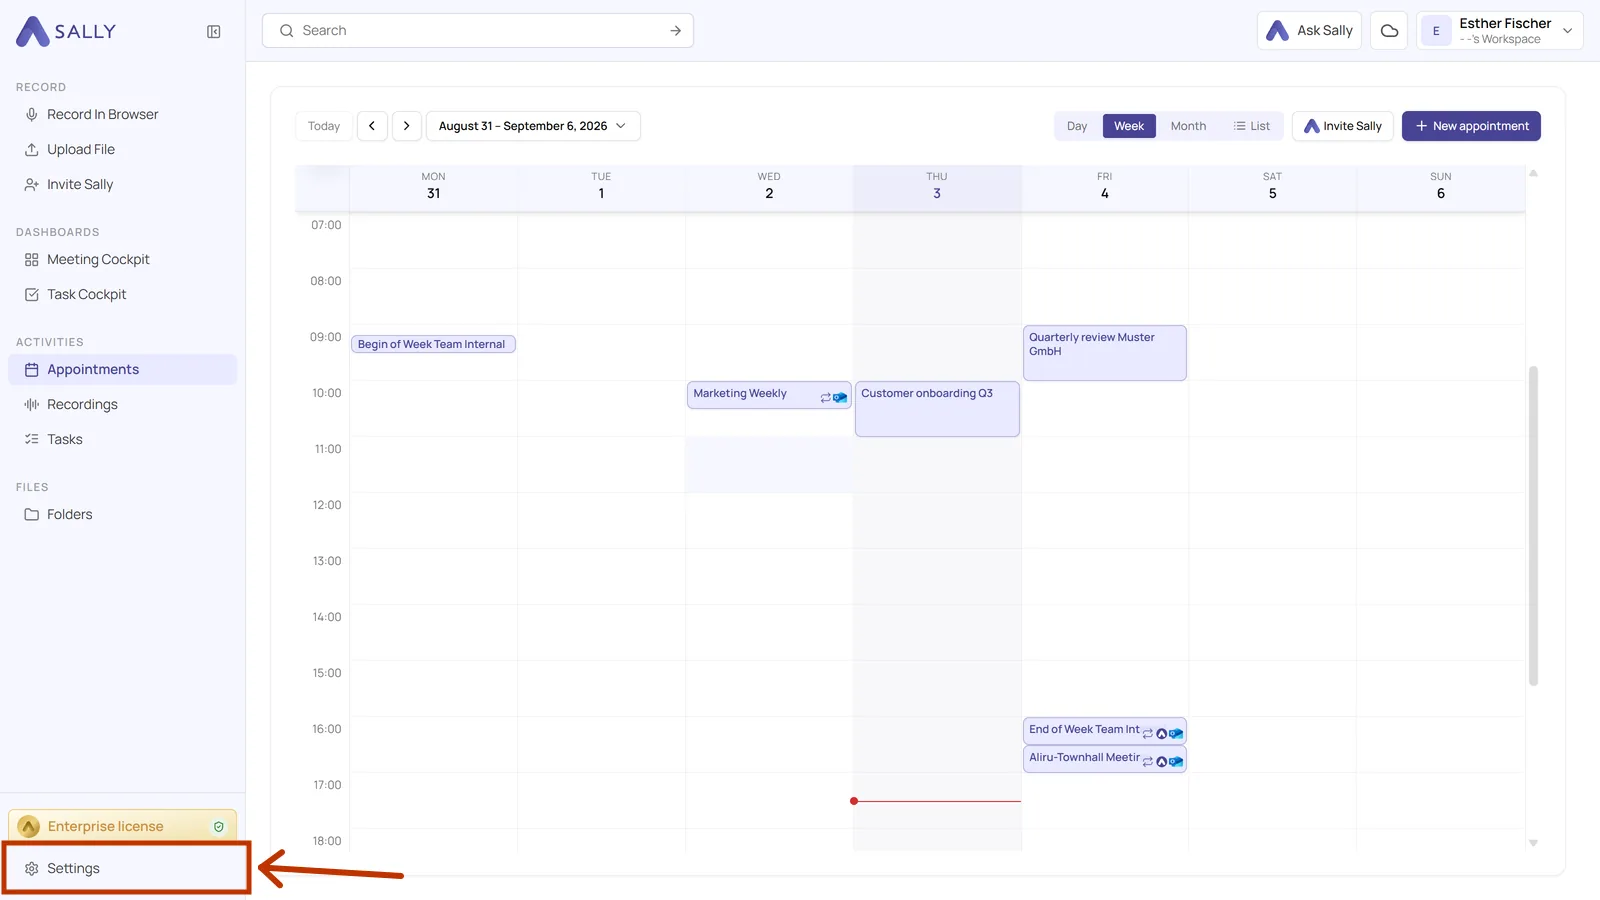
- Open Settings at the bottom of the left sidebar.
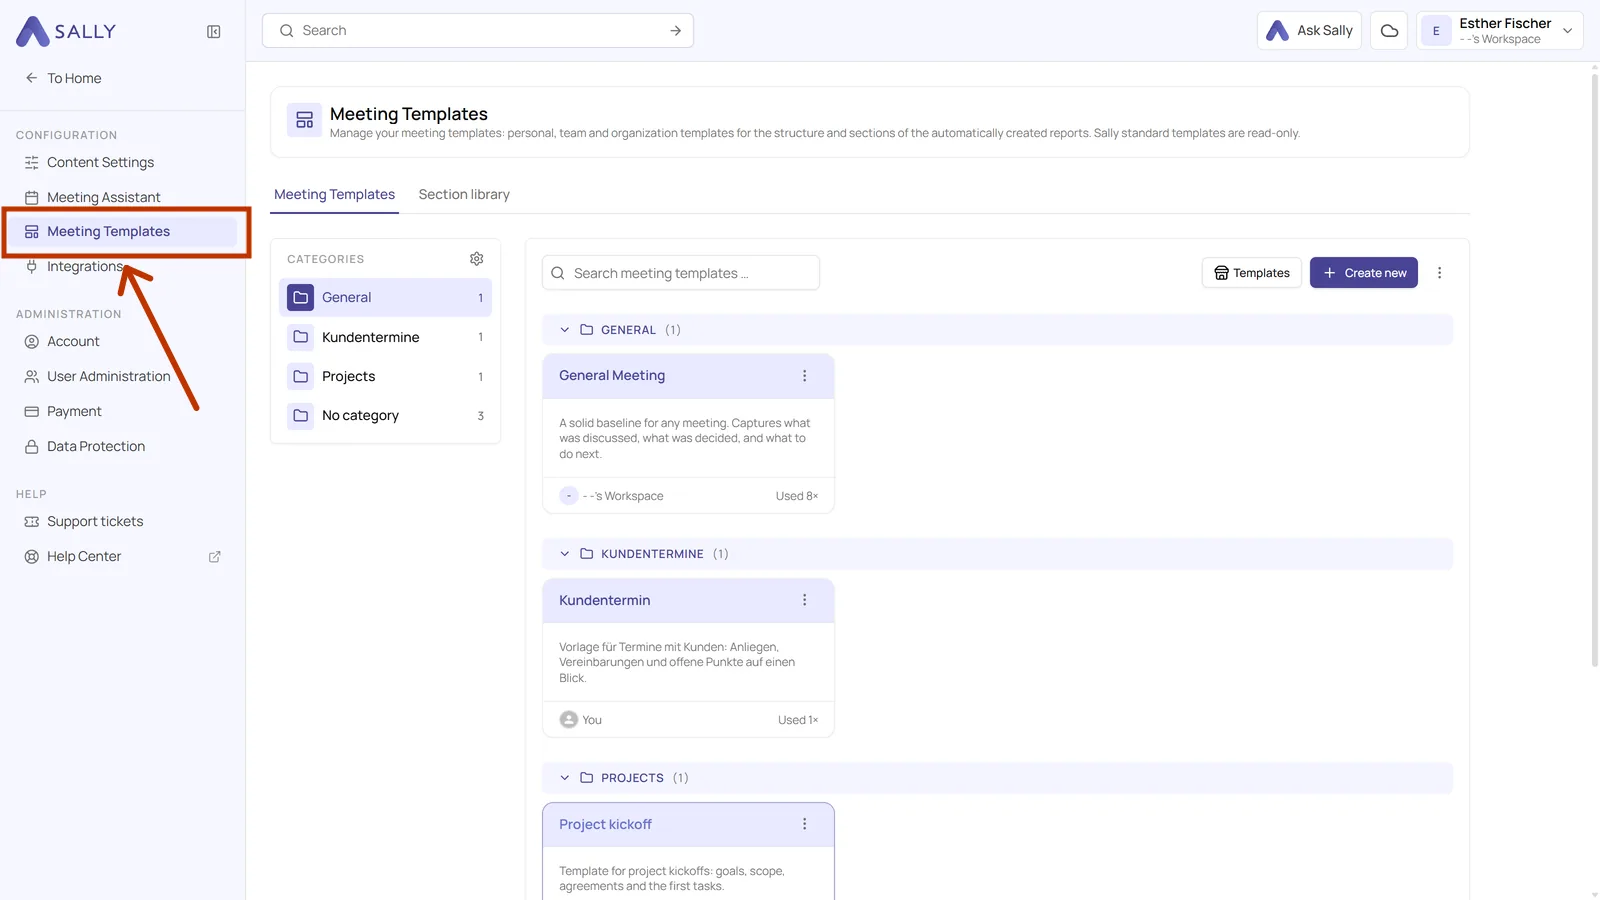
- In the sidebar on the left, under Configuration, pick Meeting templates.
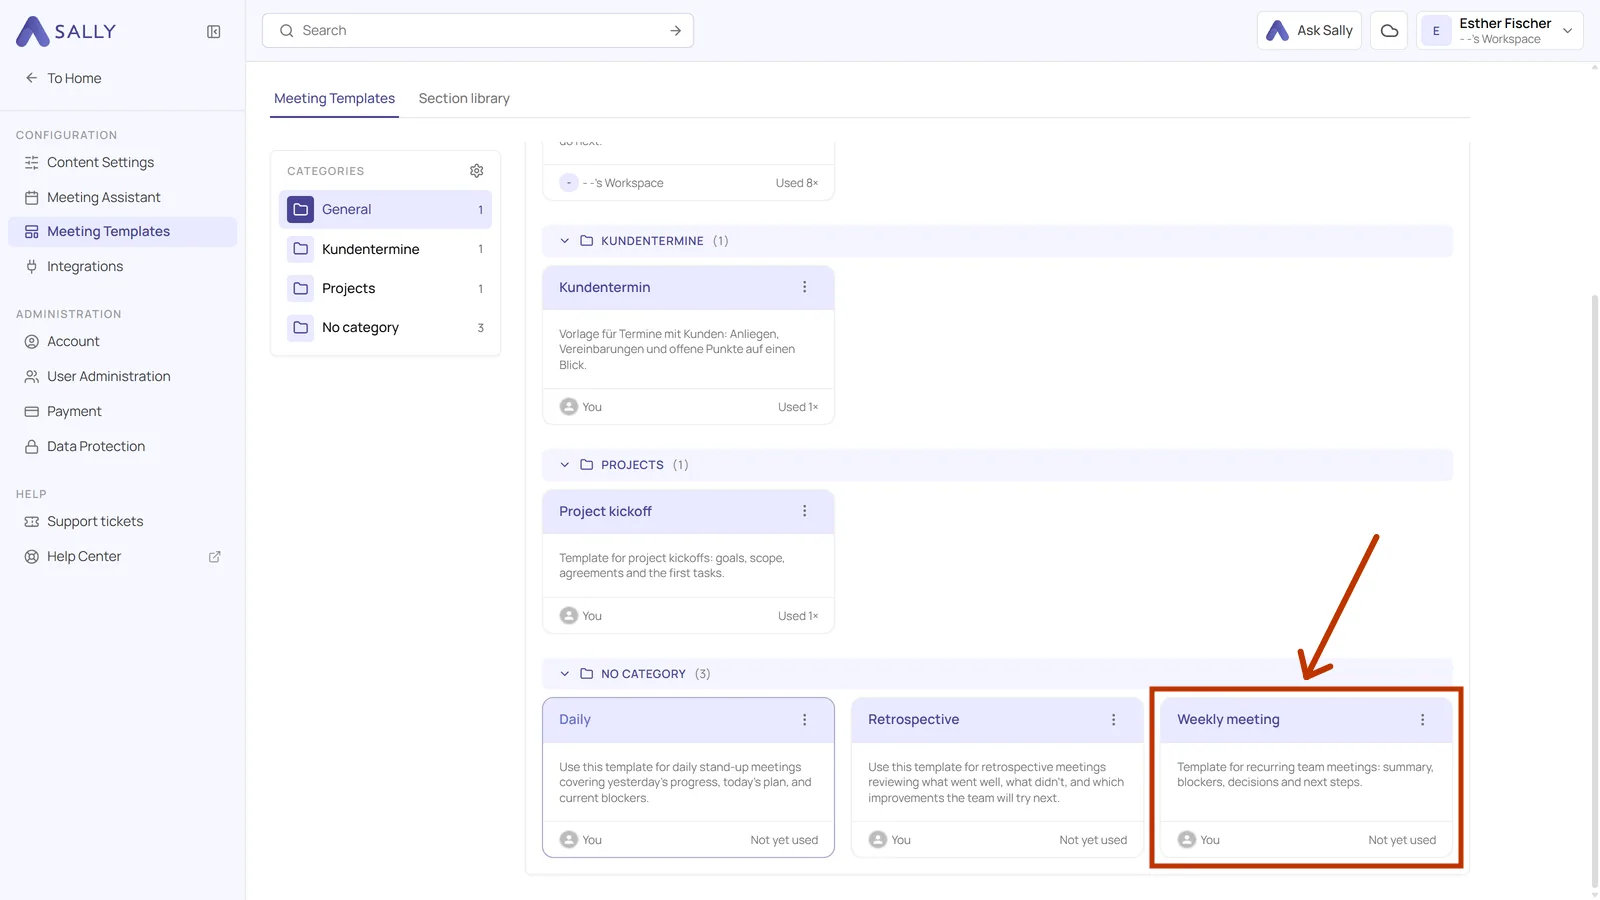
- Click the card of the template you want to change.
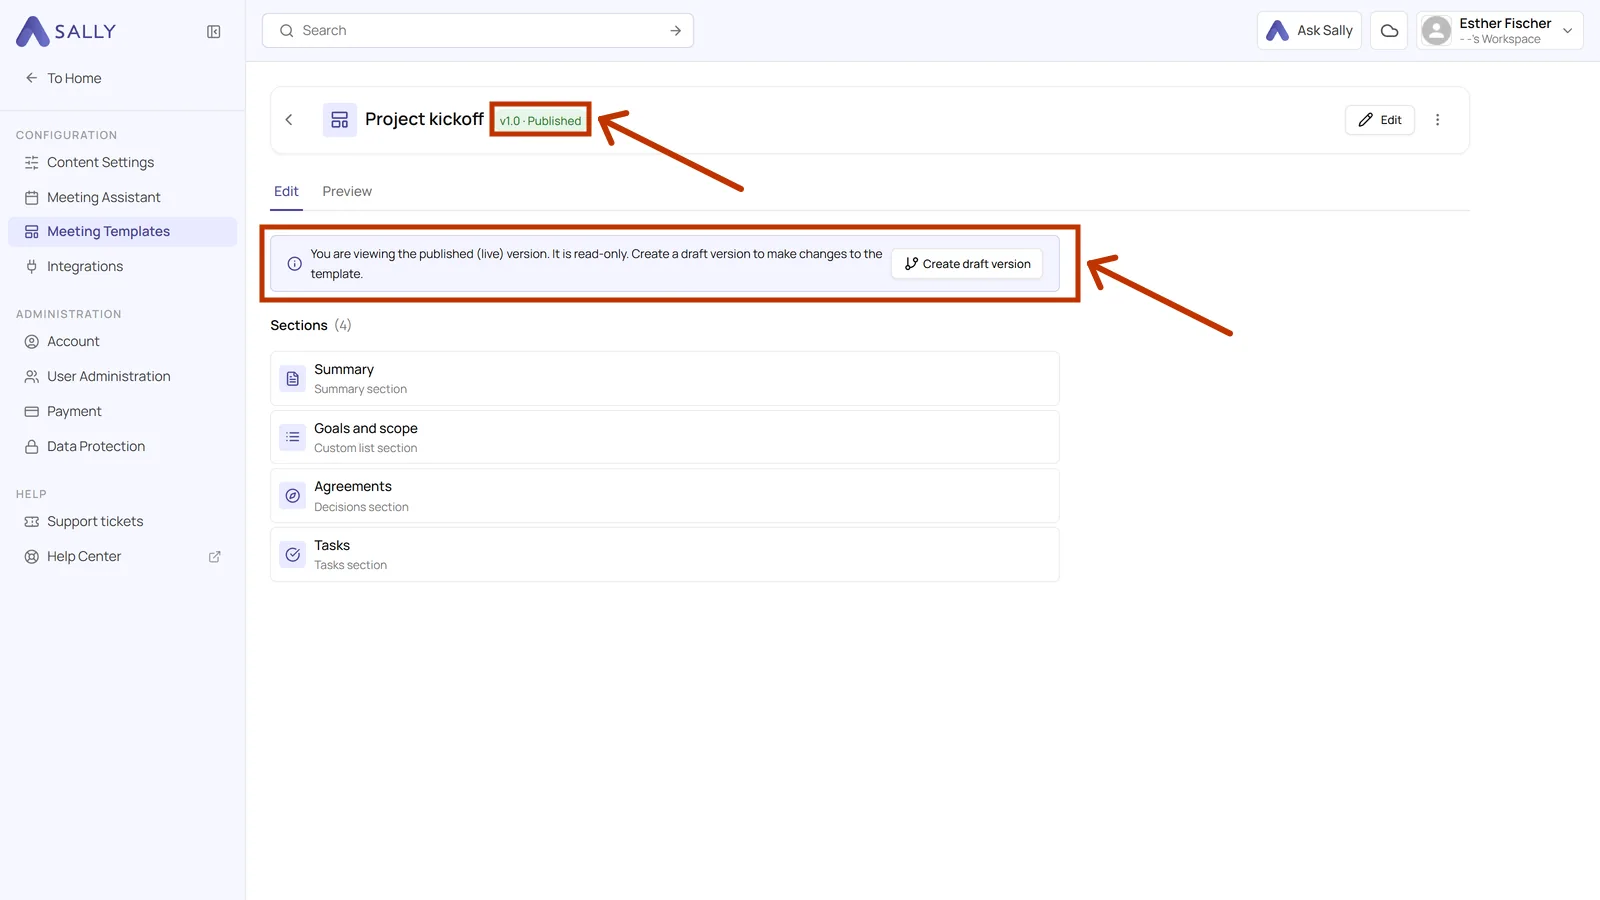
- The note at the top tells you that you are looking at the published version. Click Create draft version.
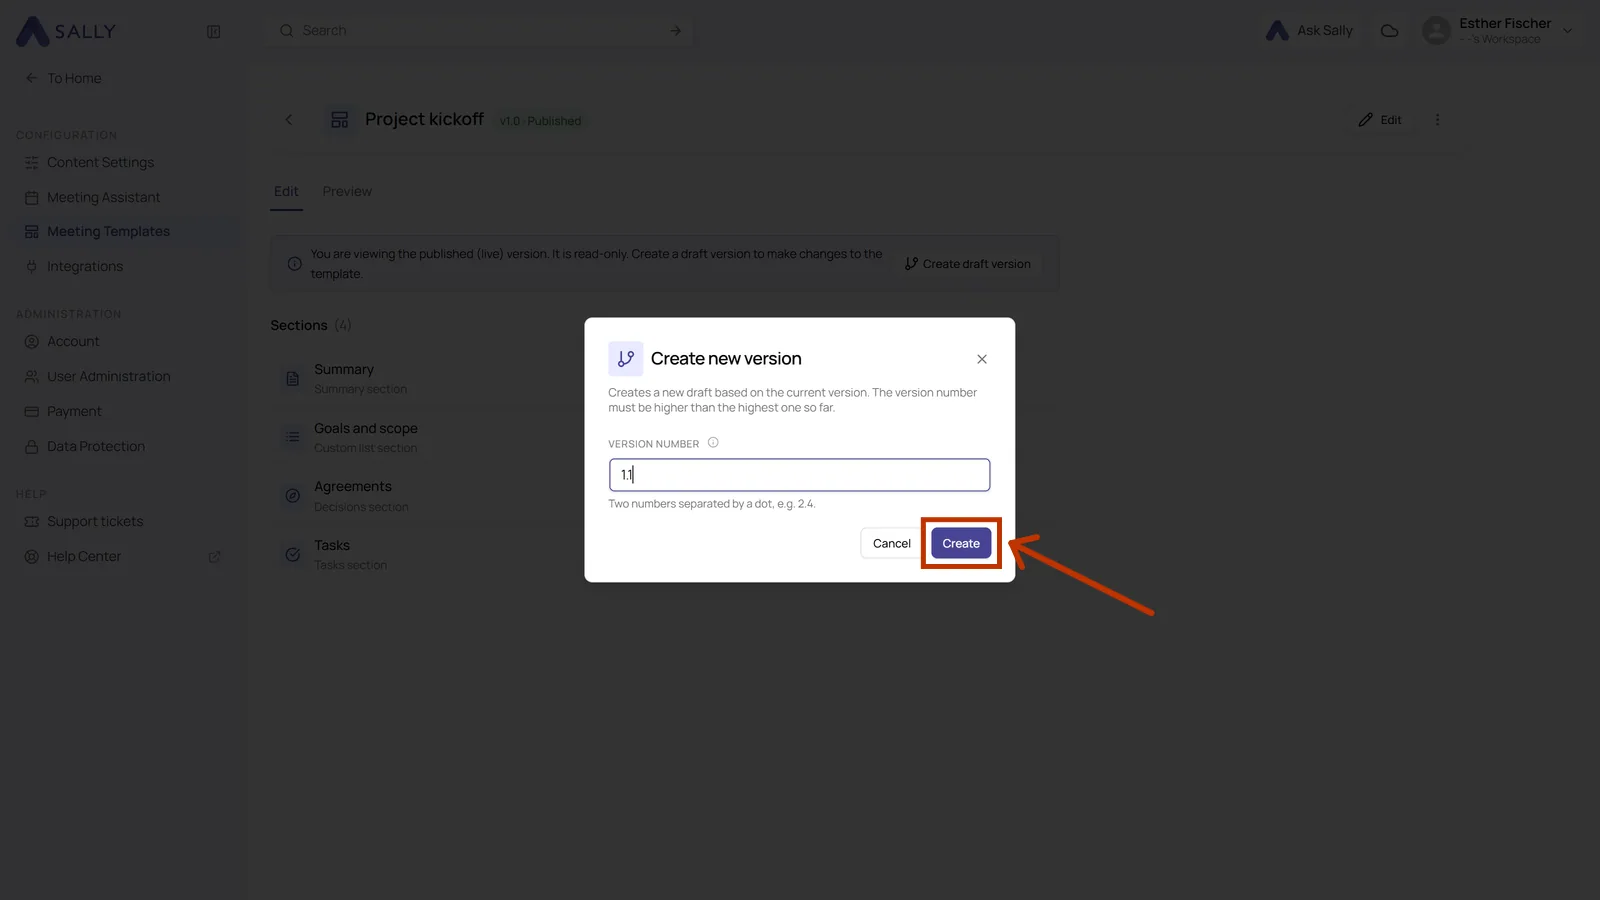
- Sally asks for a version number. It suggests the next one, and you can enter your own as long as it is higher than the highest one so far. The format is two numbers with a dot, for example 2.4.
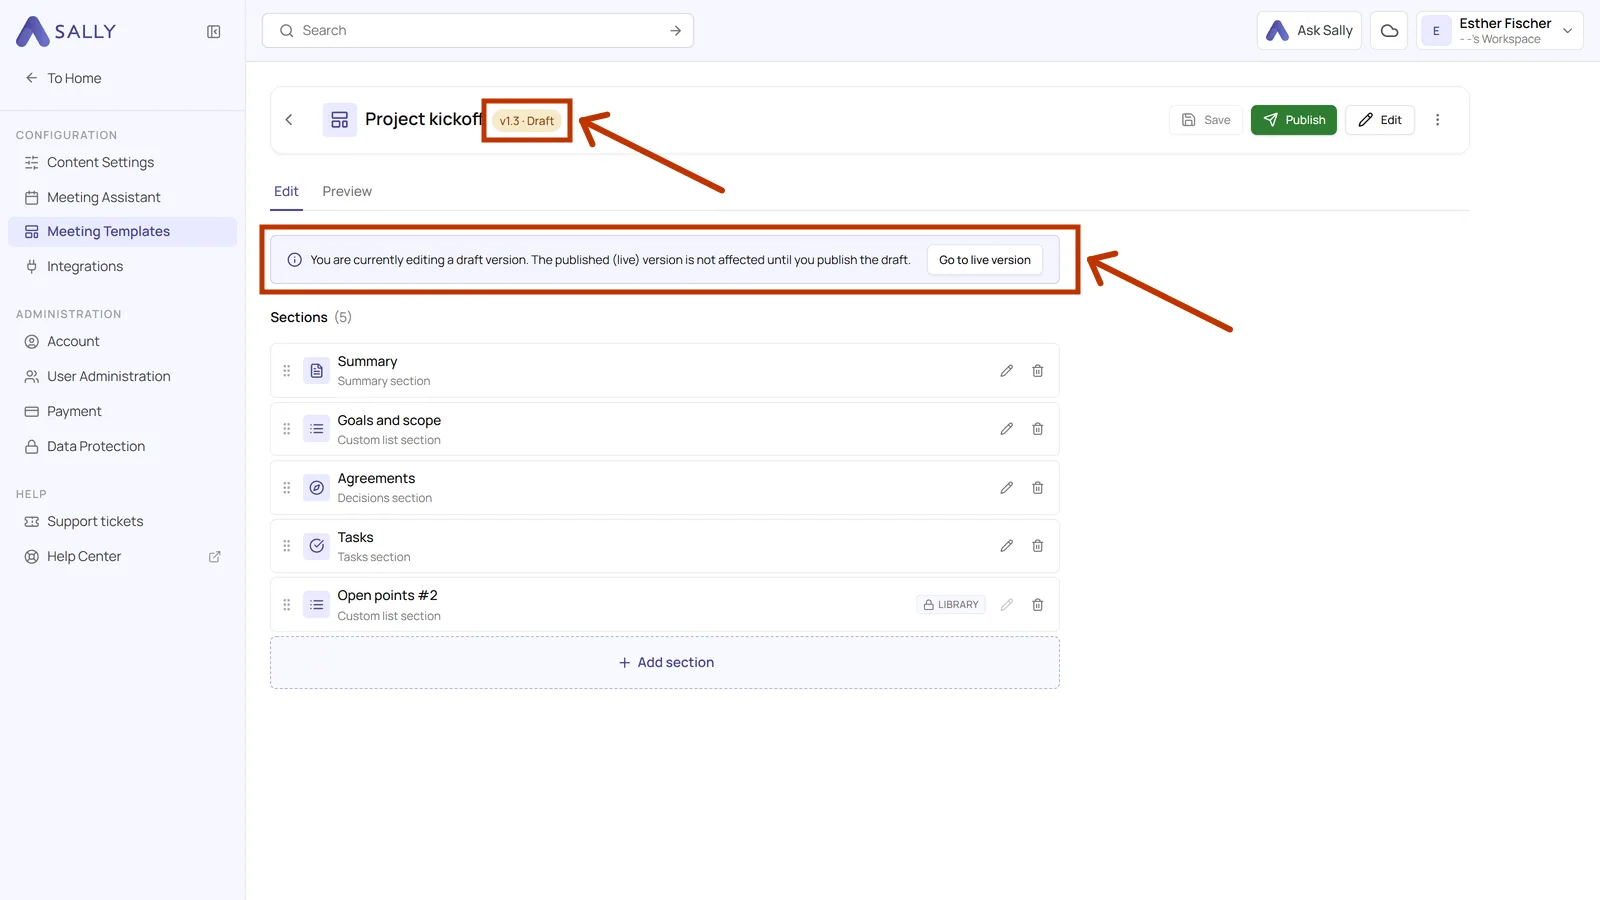
- The badge next to the template name now reads Draft, and a note reminds you that the live version is not affected yet. Go to live version takes you back to the published one at any time.
Nobody checks how you count. A small correction to a prompt can be 1.1, a template you rebuilt can be 2.0. Because every version stays in the list, meaningful numbers help you find your way back later.
3. Saving your changes
In the draft you can add sections, rename them, edit their prompts, change their output settings or remove them. Sections and the section library explains what each of those settings does.
- Click Save in the top right when you are done.
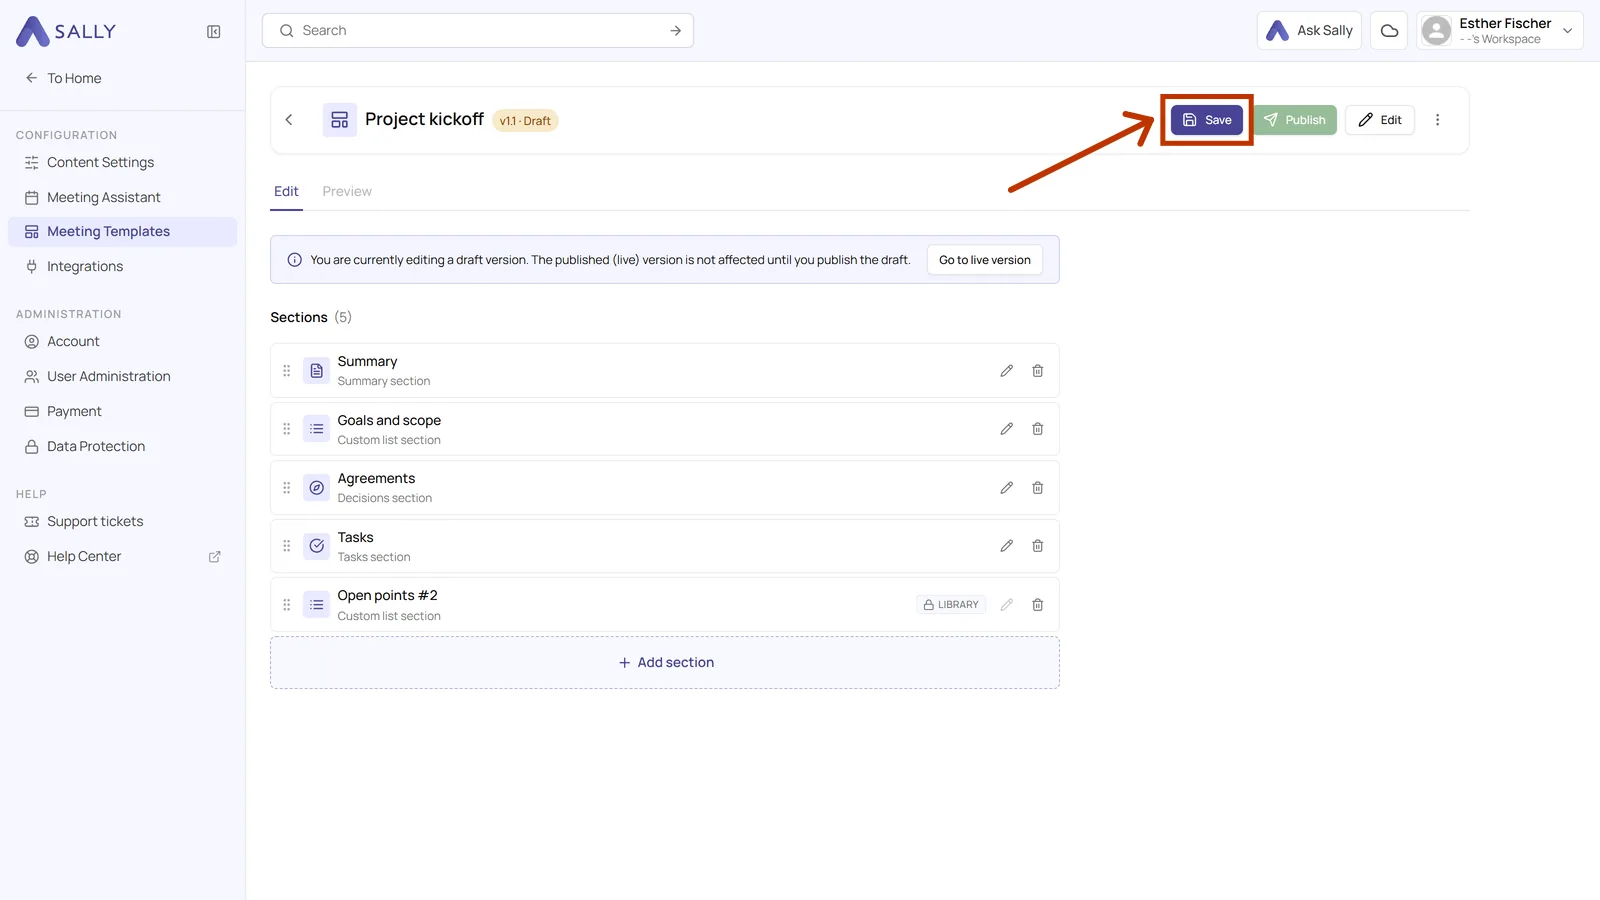
Sections you add or rename only exist in your browser until you save. If you leave the page or reload it before that, they are gone.
If you decide against a draft after all, More actions next to the template name has an entry called Discard changes. It takes the draft back to the state you last saved.
4. Publishing the draft
Once your changes are the way you want them and the new version should apply from now on, you publish the draft. That takes two clicks.
- Click Publish next to Save.
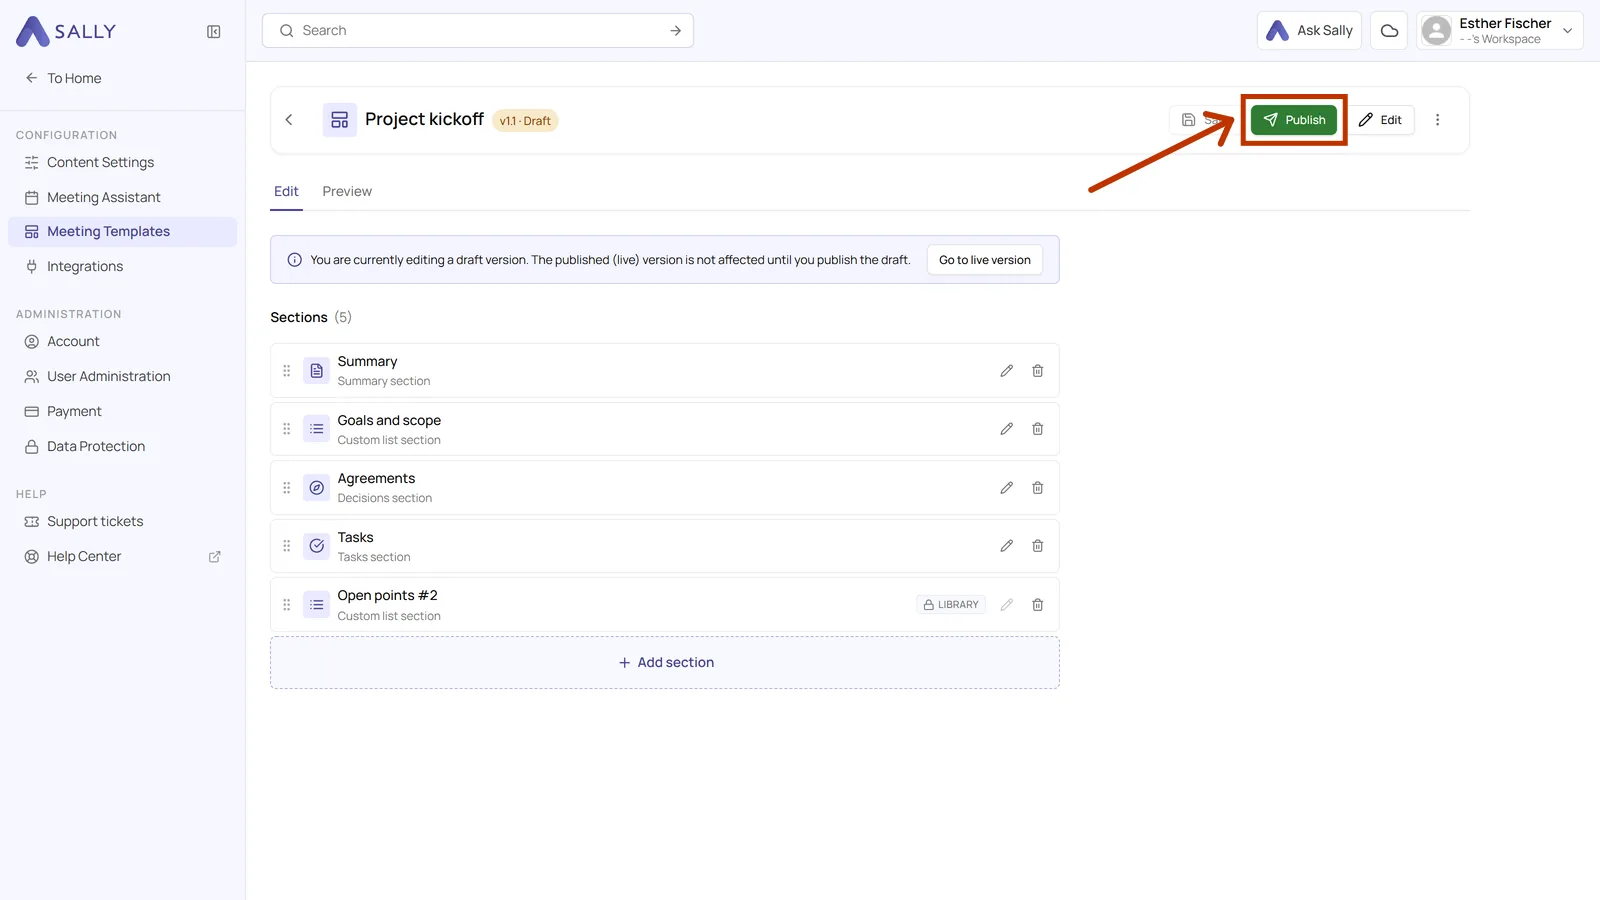
- Sally asks once more, because from that moment on your meetings use the new version.
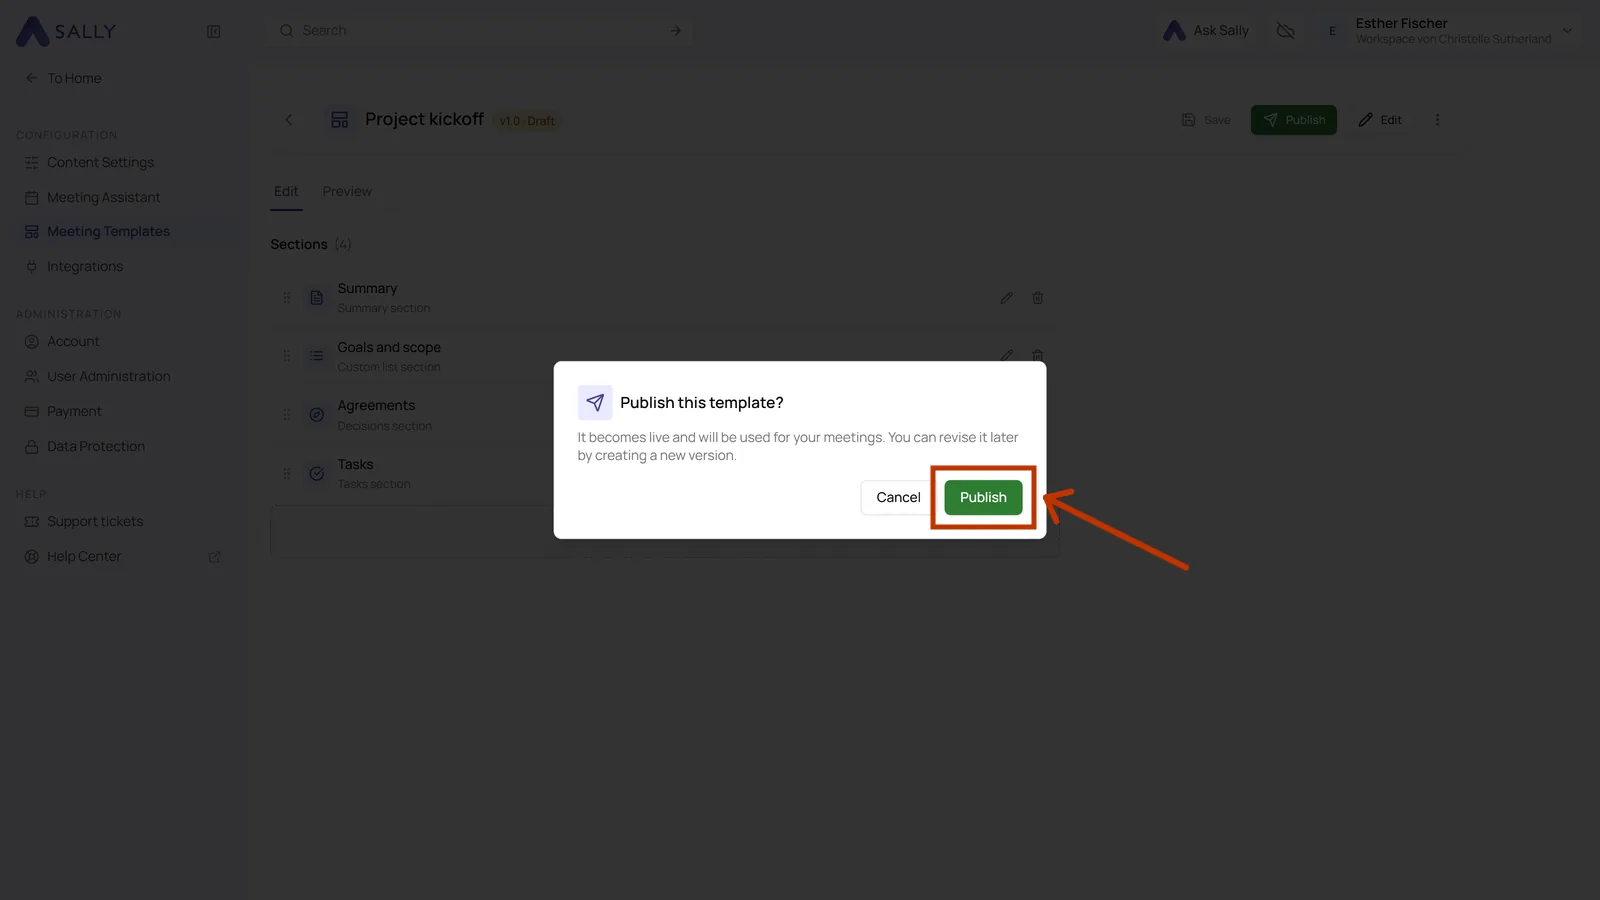
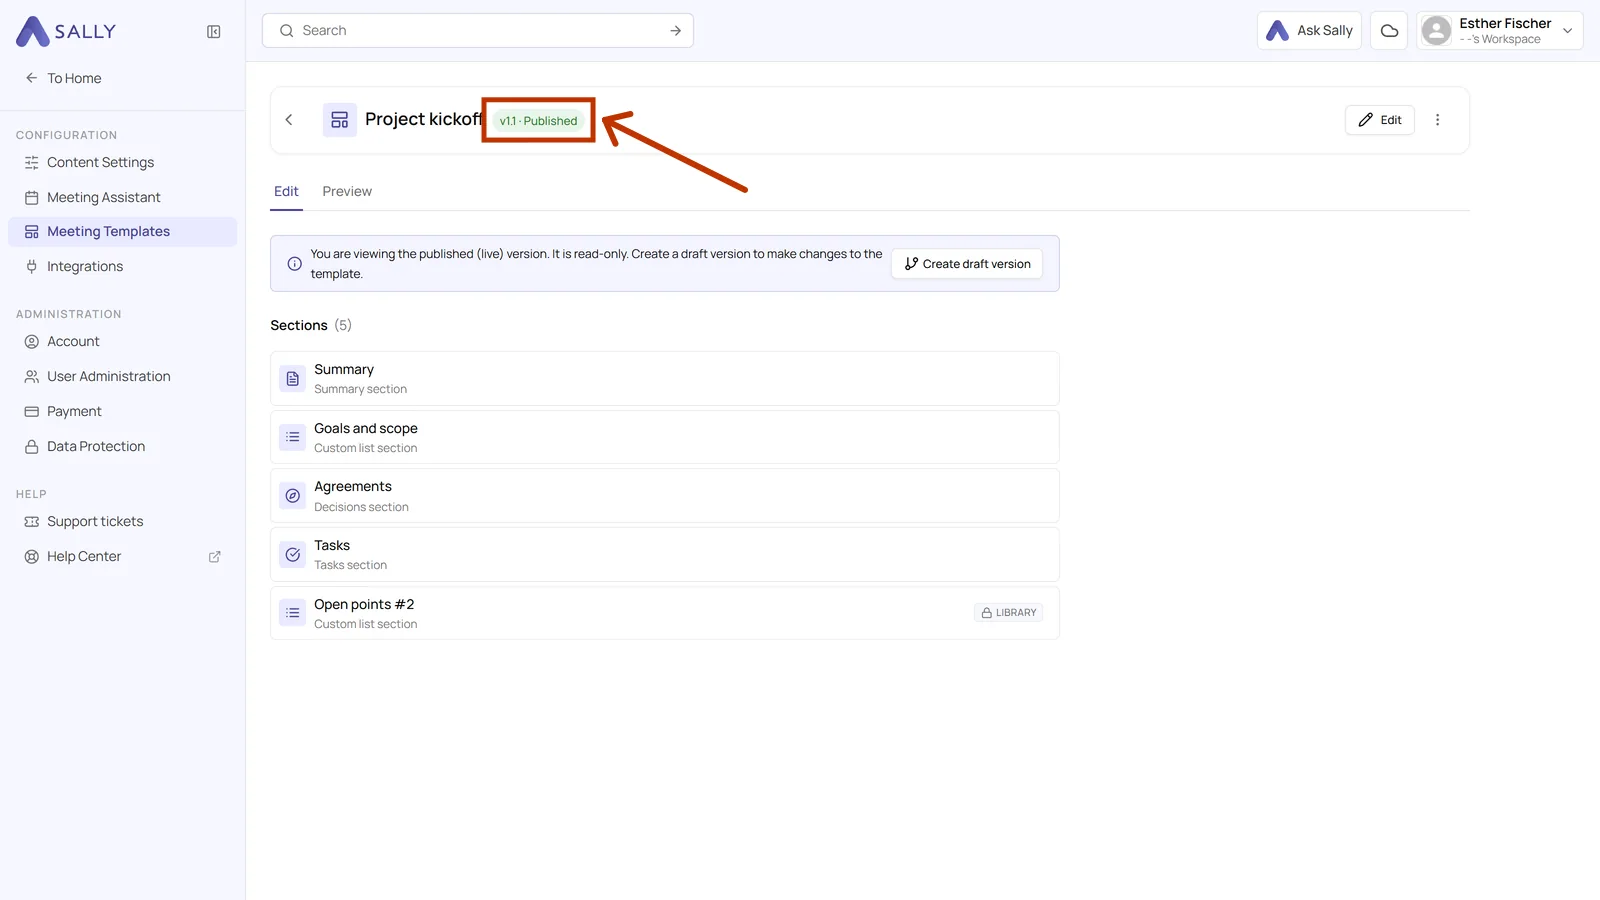
Afterwards the badge reads Published again and the template is read-only. For the next change you simply create the next draft.
5. The version history
Every published version stays available, so you can look up how a template looked months ago.
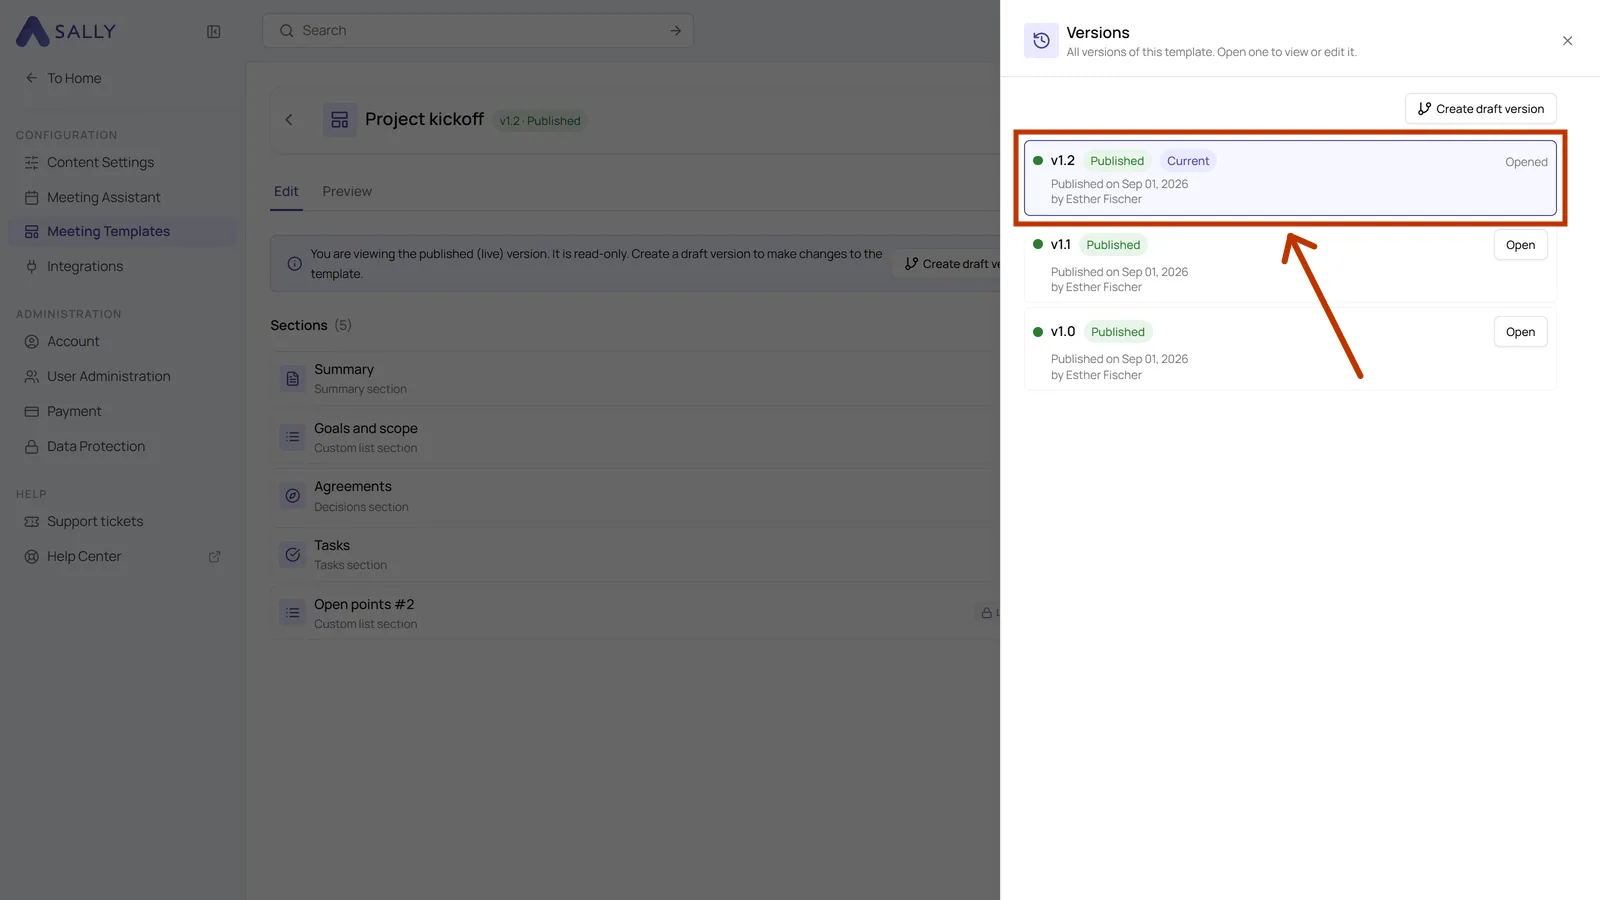
- Next to the template name at the top, click the version badge, the part that reads something like v1.2 · Published.
- The list shows every version with its state, the date it was published and who published it. The current one is marked Current, and Open takes you into any earlier version to look at it.
6. Title, description and category
Title, description and category belong to the template itself, not to a single version. So if you only want to sharpen the name or add to the description, you do not need a draft for it.
- Click Edit in the top right.
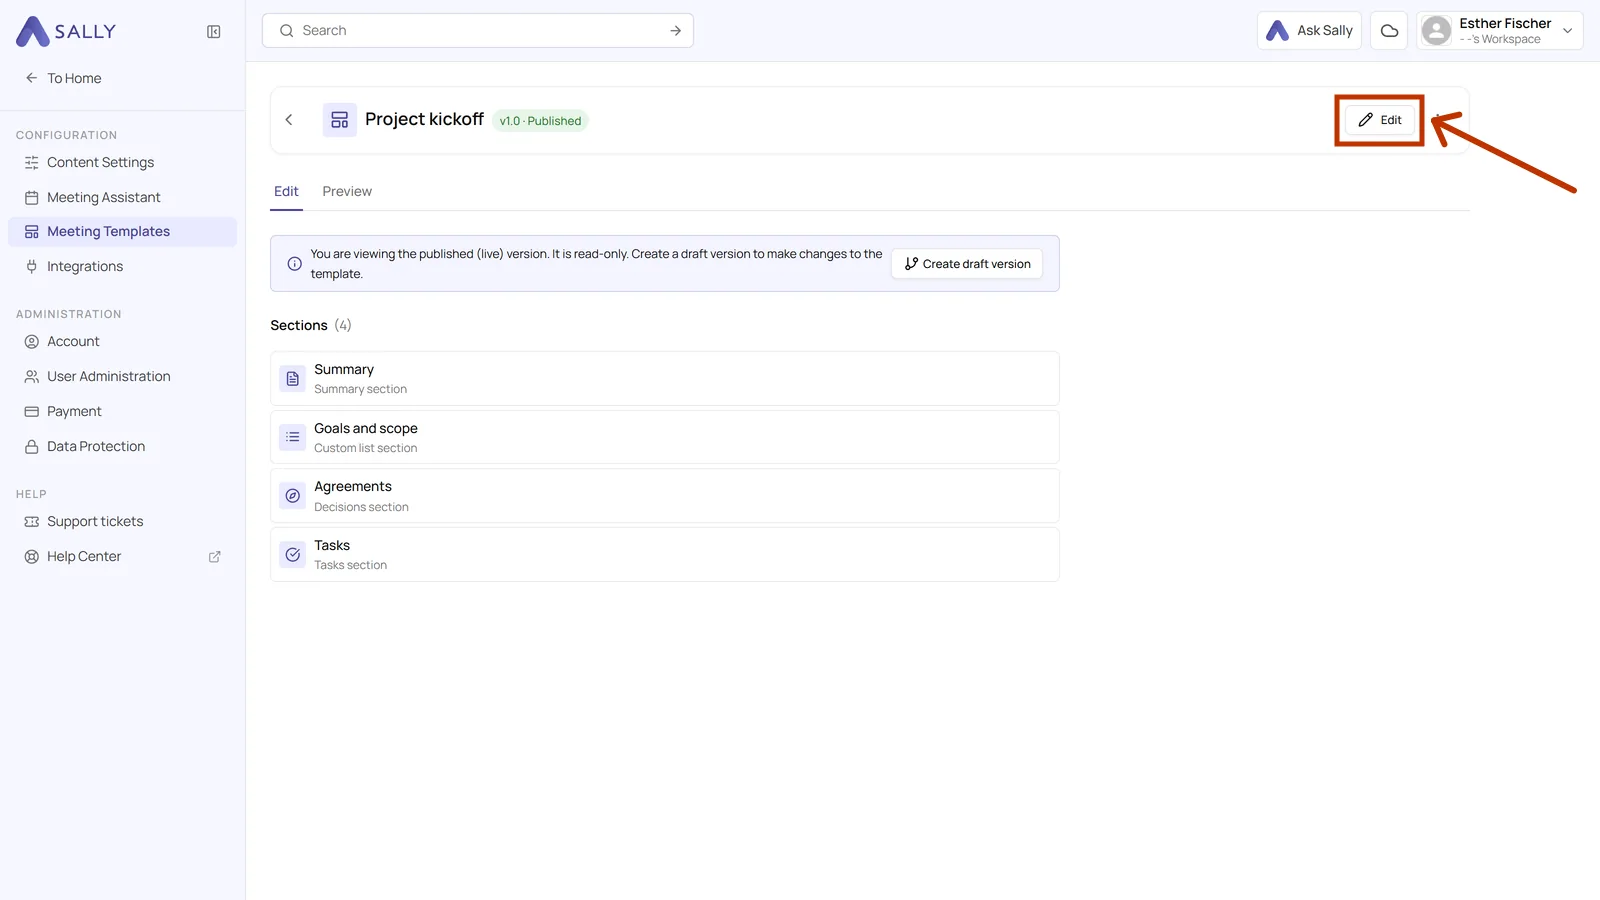
- In the dialog you change the title, the description, the category and the visibility. Click Save template in the bottom right.
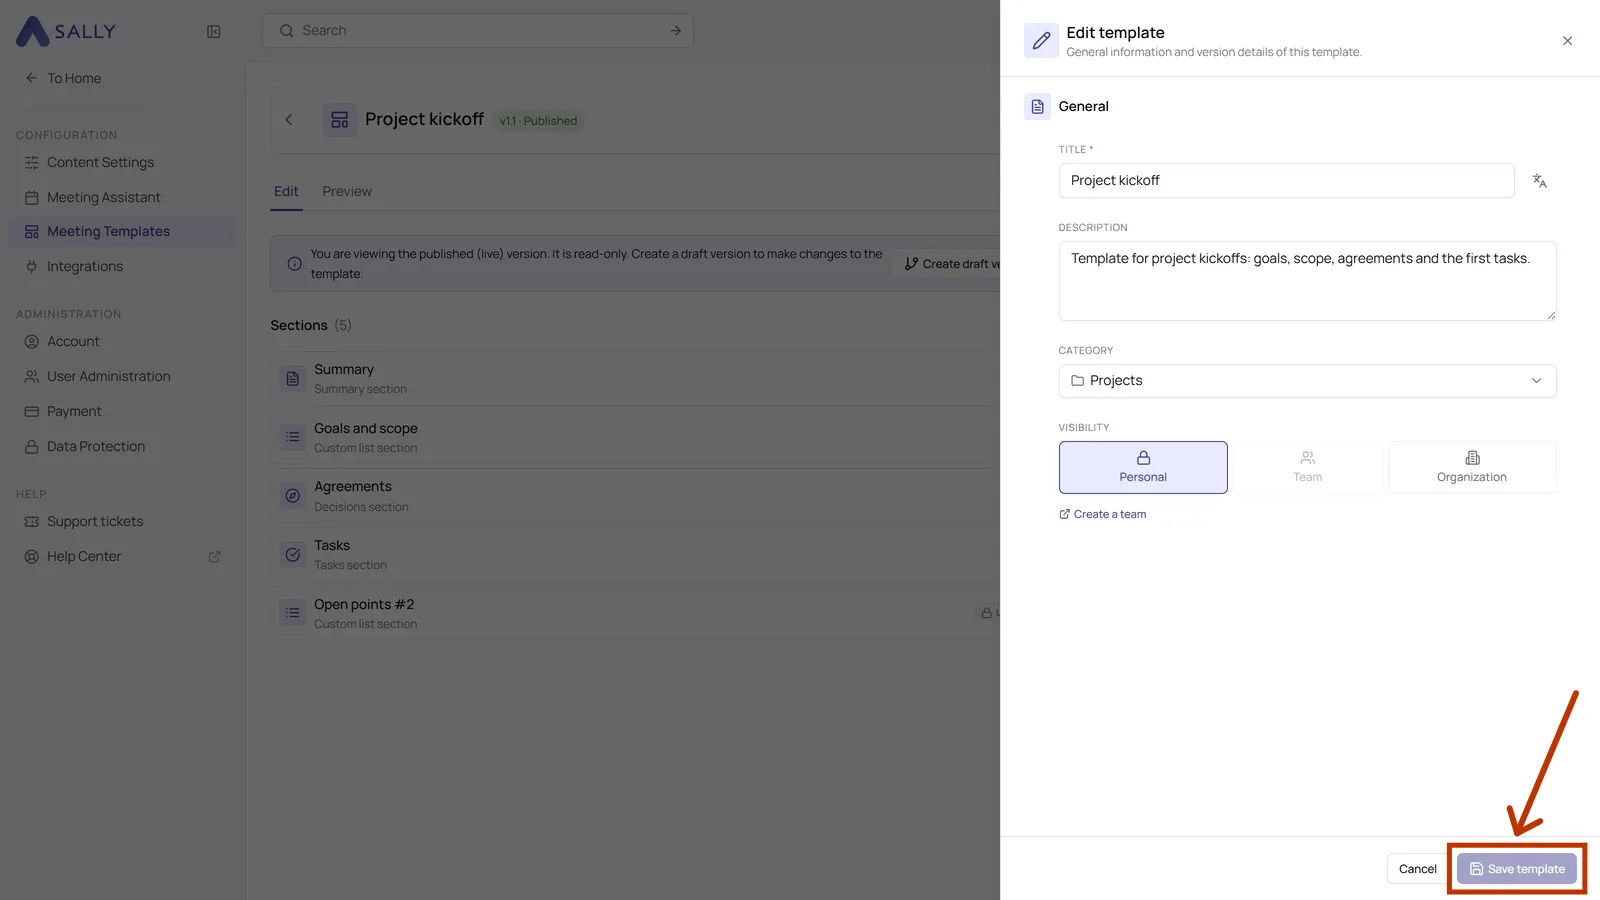
The Visibility in this dialog is also where you switch later on whether the template stays personal, belongs to a team or is open to everyone in the organization. Sharing a template explains what the levels mean.